The Chocolate Chip Cookie Bucket List
If there’s one thing you should know about me, it’s that I’m obsessed with cookies.
That obsession inspired me to write The Ultimate Cookie Handbook and has kept me testing cookies for over 17 years, including thousands of batches of chocolate chip cookies.
I’ve experimented with countless ingredients, techniques, and baking methods to create cookies for every cookie craving imaginable.
Along the way, I learned something important:
There isn’t one “best” chocolate chip cookie.
There’s just the best one for you.
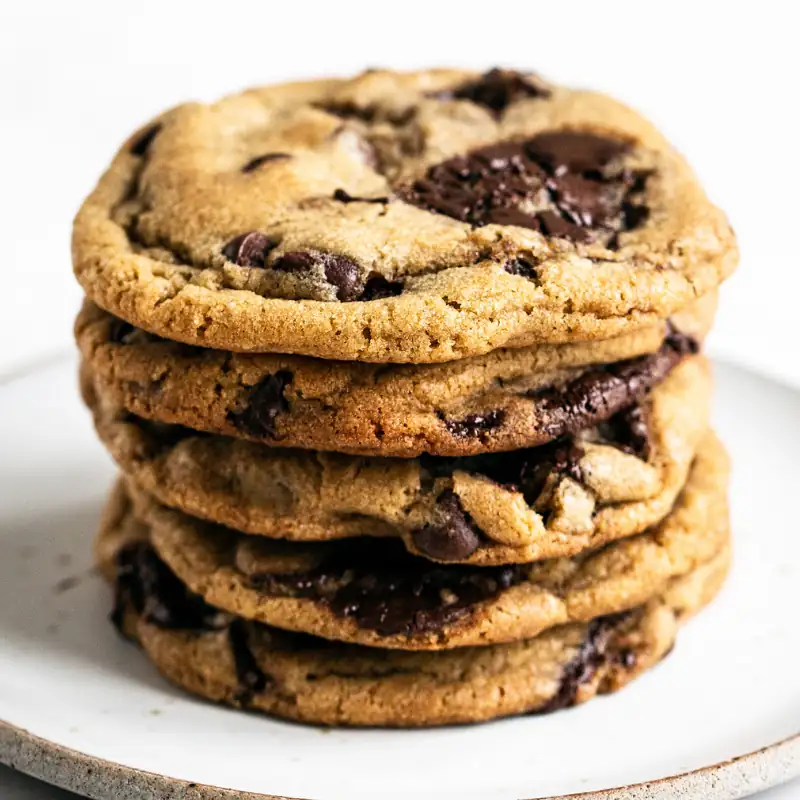
Whether your perfect cookie is thick and bakery-style, soft and chewy, thin and crispy, or you love something a little more over the top, you’ll find that recipe (and dozens more!) below.
I’ve also rounded up my favorite cookie baking tips, troubleshooting help, and essential tools to help you bake your best batch yet.
Chocolate Chip Cookie Classics
Now with gluten-free and egg-free options!
Cookie science
Cookie Essentials
A digital kitchen scale is one of your best friends in the baker’s kitchen! I like this Escali one because it’s affordable and compact, though this OXO with a pull-out display is great for large bowls.
My most-used tool for cookie baking. All three sizes are great, but I use the medium and large scoops the most. Learn more about how (and why!) you should use a cookie scoop here. * Small scoop – 1 tablespoon dough * Medium scoop – 1 ½ tablespoons dough * Large scoop – 3 tablespoons dough.
Unlined aluminum sheet pans create evenly baked, golden brown cookies. They’re the standard in professional kitchens. I love Nordic Ware, but Chicago Metallic is great, too! Learn which baking pans you should avoid here.
Perfect for cut-out cookies, but my favorite trick is re-shaping fresh-baked cookies. Place a cutter just larger than the cookie around it right out of the oven and gently swirl it back into a perfect circle.
Cookie Troubleshooter
My cookie spread into flat puddles.
My cookies are greasy
My cookies didn't spread at all.
My cookies are burnt at the edges.
My cookies become hard or stale after storing.
Common Causes
- Was the butter or dough too warm?
- The dough may have been too "wet."
- The oven temperature may have been too cold.
- Did you use nonstick cooking spray?
- Was the pan still hot from a previous batch?
How to Fix It
- To cream butter and sugar, the butter should be at a cool room temperature, about 67°F. Keep the butter and dough at this temperature until you bake the cookies to avoid spreading.
- Make sure to measure your flour correctly (ideally, by weighing it). If you're using unbleached flour (which is less absorbent) or live in a humid environment, you may need to add 1-3 tablespoons extra flour.
- If your oven is too cold, the cookie dough won't be able to set at the edges before it spreads too much. Thoroughly preheat your oven for at least 10 minutes before baking. Better yet, check your oven's accuracy with an oven thermometer.
- Never use nonstick spray for baking cookies, it causes excess spreading. I prefer to bake on parchment paper.
- Only bake on room temperature pans.
Common Causes
- Generic or lower-quality brand of butter.
- Was the butter too warm?
- Using melted butter instead of creaming.
How to Fix It
- Try using a different brand of butter, such as Challenge or Land O'Lakes.
- To cream butter and sugar, the butter should be at a cool room temperature, about 67°F. Keep the butter and dough at this temperature until you bake the cookies to avoid a greasy texture.
- If the recipe calls for creamed butter & sugar, using melted instead may create a greasy texture. Follow the recipe instructions.
Common Causes
- Was the flour over-measured?
- Was a dark nonstick baking pan used?
- Was the dough too cold or frozen?
- Was the sugar or fat reduced?
How to Fix It
- Too much flour will reduce spreading. This is surprisingly easy to do by accident when measuring by volume with measuring cups. I strongly suggest switching to a digital scale and measuring by weight!
- Dark nonstick pans should be avoiding in baking. They heat more aggressively and can set or burn edges too quickly, reducing desired spread in cookies.
- If the dough was cold or frozen, you will likely need to extend the baking time to encourage proper spreading. To bake from frozen, drop the baking temperature by about 25°F and add 1-3 minutes to the baking time.
- Sugar and fat are used in precise ratios to control spread. Altering one or the other will affect texture, often negatively.
Common Causes
- Using a dark colored nonstick baking pan.
- Baking on the bottom oven rack.
How to Fix It
- I recommend only baking cookies on unlined aluminum baking pans, like Nordicware or Chicago Metallic. Dark nonstick pans heat more aggressively and are likely to burn your cookie bottoms or edges. If that's all you have, try reducing the oven temperature slightly, as well as the baking time.
- Always bake cookies on the middle oven rack for best results.
Common Causes
- Improper storage.
How to Fix It
- Make sure your cookies are stored in an airtight container at room temperature, not in the fridge.
- Add a flour tortilla, apple wedge, or piece of white bread to the container to help the cookies keep their moisture.
Click to explore the Full baking troubleshooter.