Garlic Knot Rolls
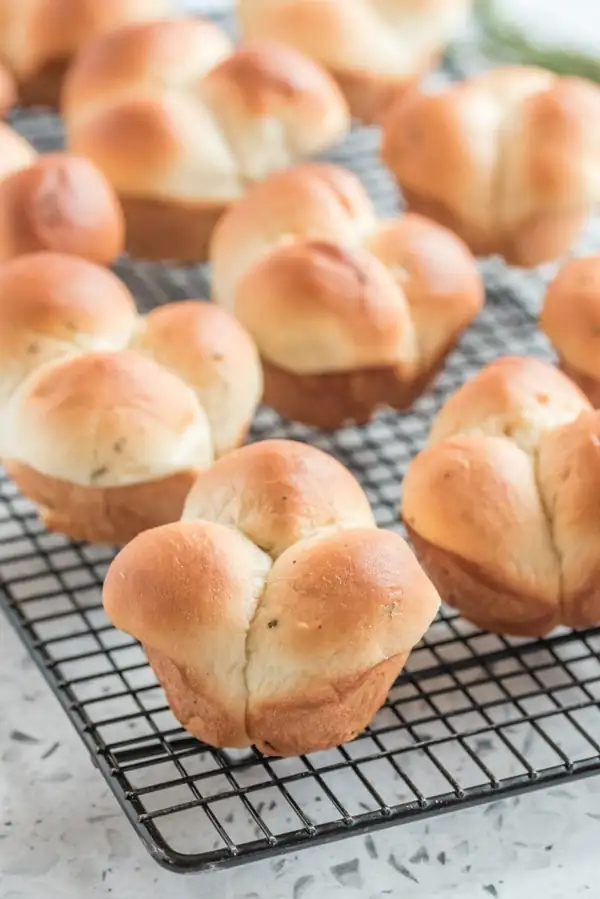
Pillowy-soft and loaded with the perfect amount of garlic, these Garlic Knot Rolls are completely addictive. I’m genuinely thrilled to be sharing this recipe with you!
- 4 tablespoons (57 grams) unsalted butter
- 1 1/4 cups (296 grams) whole milk
- 2 large eggs, (lightly beaten)
- 2 tablespoons (25 grams) granulated sugar
- 1 1/2 teaspoons fine sea salt
- 2 1/4 teaspoons (1 packet) instant yeast*
- 4 1/2 cups (572 grams) bread flour
- 1 stick (113 grams) unsalted butter
- 6 cloves garlic, (minced)
- 1/3 cup fresh parsley, (minced**)
- 1 1/2 teaspoons garlic powder
- 1/2 teaspoon fine sea salt
- 1 egg, (lightly beaten)
- Flaky sea salt, (such as Maldon)
- 1/3 cup Parmesan cheese, (finely grated)
- Marinara sauce, (for serving, optional)
- In a small saucepan over medium heat or in a microwave-safe bowl, heat the butter until melted. Add the milk and stir to combine. Remove from heat and let cool until lukewarm (115-120°F).
- In the bowl of a stand mixer, combine the milk mixture, two eggs, sugar, salt, and yeast. Add about half of the flour and stir with a wooden spoon until a rough, shaggy dough forms. Attach the dough hook to the mixer, turn to medium-low speed, and gradually add the remaining flour, kneading until a cohesive dough begins to form. Increase to medium-high speed and knead for 7 to 8 minutes until a soft and smooth dough ball is formed.
- Lightly spray a large, clean bowl with cooking spray. Place the dough in the bowl, cover the bowl lightly with plastic wrap, and let rise at room temperature until doubled in size, about 90 minutes***.
- Spray a 9 by 13-inch light-colored metal baking pan with nonstick cooking spray.
- Punch down the risen dough and turn out onto a clean work surface. Use a bench scraper to divide into 15 equal pieces (about 70 grams each). Roll each piece into a ball, then into a 9-inch-long rope. Tie each rope into a knot, tucking the ends in, and place into the prepared pan. Repeat for all knots.
- Cover loosely and let rise until puffy and nearly doubled in size, about 45 minutes to 1 hour. The dough is ready when a light press with your finger leaves a small indentation.
- While the knots rise, make the garlic butter. In a small saucepan over medium-low heat, melt the butter. Add the garlic and cook, stirring often, until fragrant, about 1 to 2 minutes. Stir in the parsley, garlic powder, and salt. Remove from heat.
- Preheat the oven to 400°F.
- Brush the risen knots gently with the beaten egg. Bake for about 18 minutes, or until golden brown.
- While still warm, brush generously with garlic butter mixture—it may seem like a lot, but let it soak into every crevice for maximum flavor. If you have any leftover garlic butter, give the knots another brush. Sprinkle with flaky sea salt and Parmesan cheese. Serve warm with marinara sauce, if desired.
These knots were inspired by a pizzeria here in Phoenix that has sadly closed. Theirs were oh-so-dreamy — soft and pillowy with just enough garlic you wanted more, but not so much you needed to run to brush your teeth. I knew immediately I needed to re-create them at home.
Most garlic knots are made from pizza dough and just underwhelming.
I’m happy to say my recipe is anything but boring. These are the softest, fluffiest, tastiest restaurant-worthy garlic knots EVER. Best part? They’re easy enough for beginner bread bakers while impressive enough to share with family and friends.
One bite and your friends and family will be utterly hooked.
They’re like little bread pillows covered in garlicky buttery perfection. Dangerously good. Seriously, don’t expect any leftovers!
Serve these Homemade Garlic Knot Rolls for Easter dinner or Thanksgiving alongside my favorite Cheesy Green Bean Casserole or my crowd-pleasing Sweet Potato Casserole, or with my Pot Pie Soup for a cozy night in.
Bread Flour is a Must!
For the best texture, I highly recommend using bread flour instead of all-purpose flour. Bread flour has a higher protein content, which helps create taller, fluffier, and slightly chewy Garlic Knots. I like King Arthur Flour’s Bread Flour best.
If you use all-purpose flour, your Garlic Knot Rolls may take longer to knead, may not rise as tall, and won’t have the same pillowy texture.
Measuring Tip: Always measure your flour correctly to avoid dense rolls. A digital kitchen scale is the most accurate tool, but if you don’t have one, use the spoon-and-level method to prevent accidental over-measuring.
The Yeast
For ease and reliability, I recommend using instant yeast (aka rapid-rise or quick-rise yeast). Simply add it directly to the ingredients—no need to proof it separately! Instant yeast is available at most grocery stores, or you can buy it online here.
If you don’t have instant yeast, use the same amount of active dry yeast instead. Combine it with the warm butter and milk once the mixture is around 100°F (careful – too hot and it will kill the yeast!). Add a pinch of the sugar, then let it sit until bubbly, about 5 minutes, before continuing with the recipe as written. Learn more about yeast here.
The Sugar
Even though this dough isn’t sweet, a little sugar plays a crucial role! It helps activate the yeast, tenderize the dough, and creates a softer, more flavorful roll. Don’t skip the sugar! It’s essential for the dough’s structure and rise. Learn more about sugar’s role in baking here.
The Eggs
You’ll need three large eggs: two go into the dough, adding richness and structure, and one for the egg wash, creating a beautiful golden brown, slightly crisp exterior.
Egg Size Matters! Large eggs weigh about 56 grams in shell—using eggs that are too big or too small can alter the dough’s texture.
The Milk
For the best flavor and texture, use whole milk. I haven’t tested non-dairy milk.
How to Knead Bread Dough
This dough is enriched with extra fat and sugar, which means it’ll take a little longer to knead than a more lean dough. A stand mixer fitted with the dough hook is your best friend. It’ll make easy work of kneading. If you don’t have a stand mixer, learn how to knead by hand here.
Knead until the dough is soft and smooth but a little tacky. It should be stretchy and pass the windowpane test: grab a hunk of dough and stretch it between your hands until you have a thin sheet. Hold it up to a window, and light should filter through. The dough should not tear excessively.
If your dough isn’t stretchy before rising, not enough gluten has developed, and your final rolls won’t have that gloriously soft pull-apart texture. Don’t skip ahead here!
How to Tell When Dough Has Proofed
First proof: The dough is ready when it doubles in size and passes the “ripe test.” Gently press two fingers in the risen dough up to the second knuckle and remove. If the indent remains, the dough is ready for shaping. If it springs back, cover and let the dough rise longer until it is.
Second proof: Once shaped, the rolls are ready to be baked when a light press with your finger leaves a small indentation that doesn’t bounce back immediately.
How to Shape Garlic Knots
Once the dough has risen, transfer to a clean work surface (no need to flour it). Use a bench scraper to divide into 15 equal pieces. You can use a digital scale to measure your mass of dough and divide by 15, or you can just eyeball it.
Roll each piece into a ball, then into a 9-inch-long rope. Tie each rope into a knot, tucking the ends in, and place into the prepared pan.
The Baking Pan
While traditional garlic knots are baked spaced apart on a sheet pan, baking them closely in a 9 x 13-inch pan creates a softer, fluffier texture—almost like cinnamon rolls but with savory, garlicky goodness instead of cinnamon and icing!
I used my go-to light-colored metal 9×13-inch baking pan for even baking and browning. Glass and ceramic pans should work, too, but your rolls may take a few extra minutes to bake.
Email This Recipe
Enter your email, and we’ll send it to your inbox.