Apple Nachos
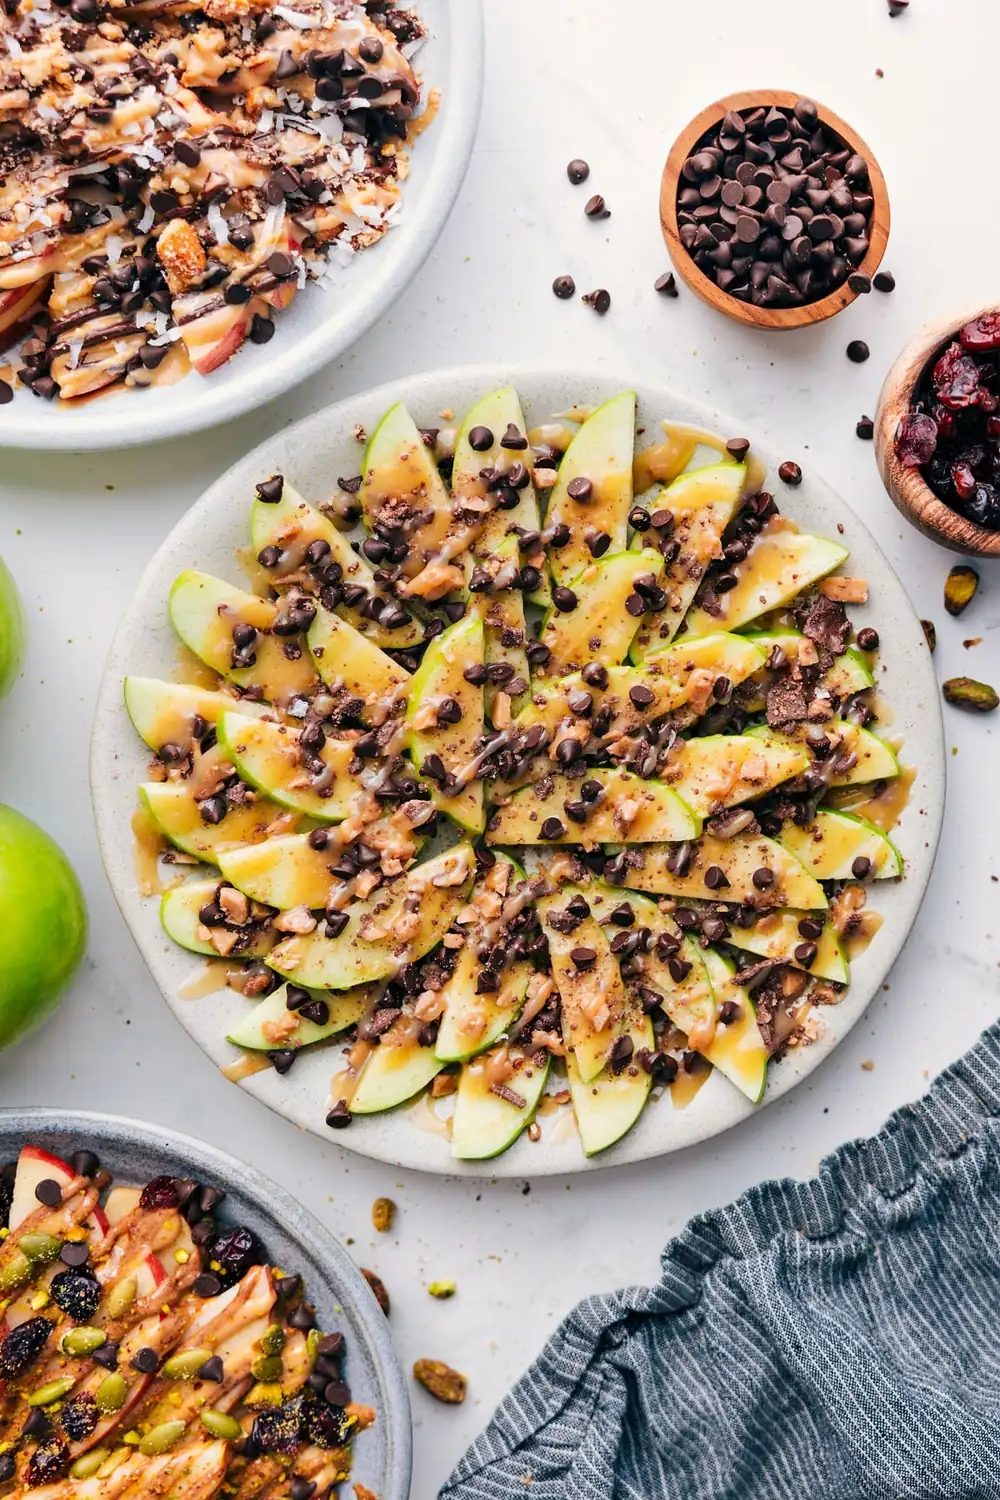
Apple Nachos give you all the fun of caramel apples without all the work! Load them up with caramel, nut butter, chocolate, or whatever toppings you love.
- 2 large apples (sliced, see note 1)
- 1/4 cup nut butter of choice
- 1/4 cup mini chocolate chips (see note 2)
- 2 tablespoons pumpkin seeds
- 2 tablespoons dried sweetened cranberries
- Optional toppings (see note 2)
- 2 large apples (sliced, see note 1)
- 1/4 cup caramel sauce (see note 3)
- 1/4 cup English Toffee baking bits
- 2 tablespoons mini chocolate chips
- Prepare apples (see note 1) and lay apple slices in a single layer around the outside of your plate. Layer more slices on top in a circular motion toward the center of the plate.
- Place nut butter or caramel in a small microwave-safe bowl and heat until just warm, about 10–15 seconds in the microwave. Transfer to a small plastic bag and cut off the tip. Pipe generously over the apple slices.
- Top with desired toppings, adding as much or as little as you’d like. These are best enjoyed right after being made!
My middle son’s all-time favorite treat is a caramel apple. He LOVES them! We make them together a few times every fall and winter, which is always a big mess and, honestly, so much fun. But when we don’t have the time for the full caramel apple production, these apple nachos are the next best thing. Depending on how candy-loaded I let him make them, he might even prefer these, haha.
And even when we go with a less sugary version using almond butter or peanut butter and nuts for topping, he still thinks they’re the best snack or dessert ever. He’s not wrong. These are SO good, especially considering how fast and easy they are to throw together!
How To Keep Apples From Browning
If we’re eating the apple nachos right away, I usually skip this step. But if I’m prepping ahead or they’ll be sitting out for a bit, this little trick is a game changer!
- Mix: Stir 1/2 teaspoon salt into 1 cup cool water.
- Soak: Add the apple slices and let them sit for 5 to 10 minutes.
- Rinse: Drain and rinse the apples really well under cool water.
That’s it! The apples stay crisp and fresh for hours, and even hold up well overnight in the fridge. And I promise, they do NOT taste salty!
My Favorite Toppings for Apple Nachos
- Nut butter: Peanut, almond, cashew, or maple nut butter.
- Crunch: Granola, chopped nuts, chia seeds, or toasted coconut.
- Dried fruit: Cranberries, raisins, cherries, or chopped dates.
- Extra sweetness: Honey or maple syrup.
- Chocolate: Mini chocolate chips or chopped chocolate.
- Candy: Mini M&M’s, Reese’s Pieces, toffee bits, sprinkles, or chopped candy bars.
Best Apples for Apple Nachos
Use your favorite apples! I love crisp, sweet varieties like Honeycrisp or Fuji.
For dessert-style apple nachos, Granny Smith is my go-to. The tart apples balance all those sweet toppings perfectly!
Recipe Notes
Note 1: Cold apples are best here! I like to chill them ahead of time, then slice them about 1/4-inch thick. Granny Smith are great with sweeter toppings, while Honeycrisp or Fuji are my favorite with nut butter.
Note 2: Toppings are totally up to you. I usually use around 2 tablespoons to 1/4 cup of each. Honey, maple syrup, melted dark chocolate, toasted coconut, chia seeds, granola, and lightly salted nuts are all so good.
Note 3: Store-bought caramel works great, but I love using my homemade.
caramel sauce. It’s super easy, no candy thermometer needed, and SO good.
Keep Apples From Browning: Stir 1/2 teaspoon salt into 1 cup cool water, soak sliced apples for 5 to 10 minutes, then rinse well and dry. They’ll stay fresh-looking for hours!
Storage: These are definitely best fresh. If the apples need to sit for a bit, soak the slices in 1 cup cool water mixed with 1/2 teaspoon salt for 5 to 10 minutes. Drain, rinse really well, and dry before using. This keeps them looking fresh for hours!