Coffee Science: How to Make the Best Pour-Over Coffee at Home
Between different roasting styles, brewing techniques, and new coffee gear, it can be tricky to know what brew method is right for you. It’s helpful to back up and understand how coffee brewing works and how brew methods differ. Then, you can make an informed decision about which devices and methods might work best for…
This is all to say that manual brew methods, like pour-over, put more variables in the hands of the person making the coffee. When you hit the coffee grounds with hot water, CO2 is able to escape and bubbles out.
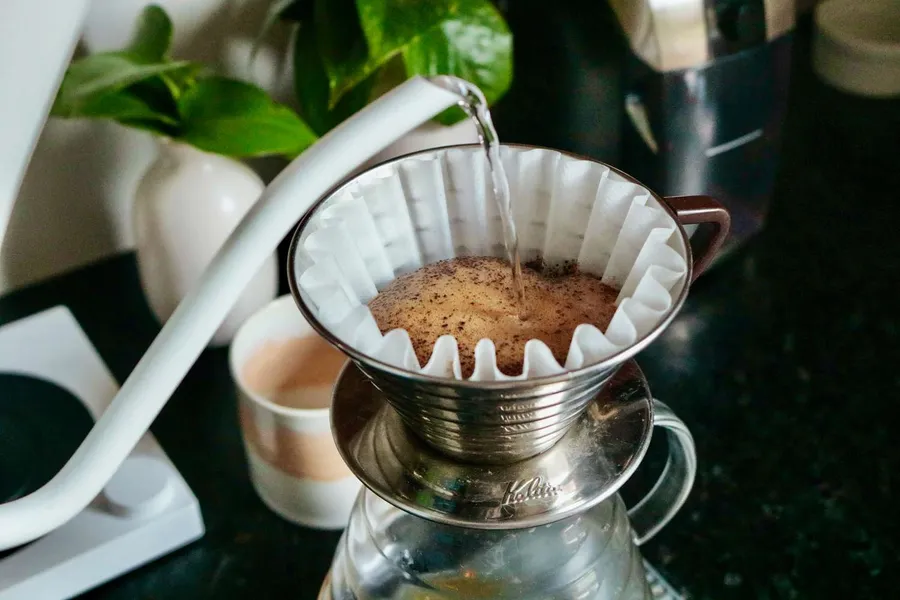
As you start your pour-over brew, you’ll want to add just enough water to wet all of the grounds, then stop and let the gas escape for about 30 seconds. Lucky for us, it’s one of the convenient facts of coffee chemistry that the desirable and tasty solubles dissolve in water more readily than the unpleasant-tasting substances, so getting a tasty brew is all about stopping the brewing at the perfect moment—after you’ve dissolved the good flavors but before those nasty ones start to dominate. Going to Diffusion in pour-over brewing occurs as new water is, to the filter and helps rinse the brewed coffee full of dissolved coffee solids into the vessel below.
Ultimately, there are five main variables in coffee brewing that you control that will influence extraction: the ratio of coffee to water, grind size, brew time, brew temperature, and agitation. As long as you put the right amount of water in the reservoir, weigh out the proper ratio of coffee, and grind it at the right setting, you’ll have a repeatably delicious brew. The ratio of coffee to water can change, grind size and uniformity depend a lot on the quality of the grinder you’re using, the brew time varies in relation to the speed of the pour, temperatures can fluctuate, and agitation can be uneven depending on how forceful the pour is.
It is helpful to note that anytime you pour water from one vessel into another, you lose about 10 degrees. So, if we’re aiming for 200ºF as an ideal brew temperature, that means setting your kettle to a near-boil (210ºF) and beginning to pour after the rolling bubbles have settled (about 30 seconds).
A good starting point for most pour-over brewers is 30 grams of coffee and 500 grams of water. We suggest a coffee-to-water ratio between 55-65 grams of coffee per liter of water (a mass ratio between 1:16 and 1:14.) When brewing, the most accurate way to maintain a consistent ratio is by placing your whole brewing rig on a digital scale.
The finer the grind is, the more surface area you’ve exposed for the brewing water to extract. Add around twice as much water as there is coffee (60g of water for 30g of coffee) to wet the grounds, trigger the release of CO2, and start your timer.
When you add that first amount of water, you should notice the coffee starts to widen as it releases CO2 gas. The pour can create different levels of agitation in your brew bed, and can even cause the water to channel through one section of the coffee more forcefully and extract from that area unevenly. If your brew is extracting more from the center than the outside edge of the coffee bed, you might find that your cup tastes both astringent and bitter and sour, while lacking balanced sweetness.
Before the coffee bed is fully exposed, add another pulse of water in the same pattern until you reach your total target water weight. (Again, a good starting point is 500 grams of water for 30 grams of coffee.) The goal is to have a consistent column of water covering the bed of coffee and to replenish it before the grounds are exposed to air. If you know exactly how much coffee you’re starting with and exactly how much water you’re using, you can then create a repeatable brewing process that will let you tweak it in subtle ways to achieve the cup you want.
- Percentages: 22%
- Figures: 22%