10 Common Mistakes Everyone Makes When Baking Meringue
The type of recipe will influence how you check for doneness . Baking meringue on pie will typically take 15 to 20 minutes, and will be slightly browned on the outside with a subtle jiggle when you shake it.
For a meringue baked on top of a custard or curd pie, it should cool down completely before serving it . If you try to cut into the pie directly after baking, neither the meringue nor the filling will be set, leaving you scooping up a liquidy disaster. Again, don't rush the setting process! Allow the pie to cool and set completely at room temperature, not the refrigerator, for six to eight hours before cutting and serving.
Pie topped with meringue is best consumed the day it's made, after the appropriate time to set. For temporary storage, leave the pie at room temperature loosely covered for no more than one additional day. You can store the pie in the refrigerator for up to two or three additional days, but it will begin to show signs of deterioration at that cooler temperature, like a weeping meringue and a soggy crust.
Procrastinating after making the meringue base
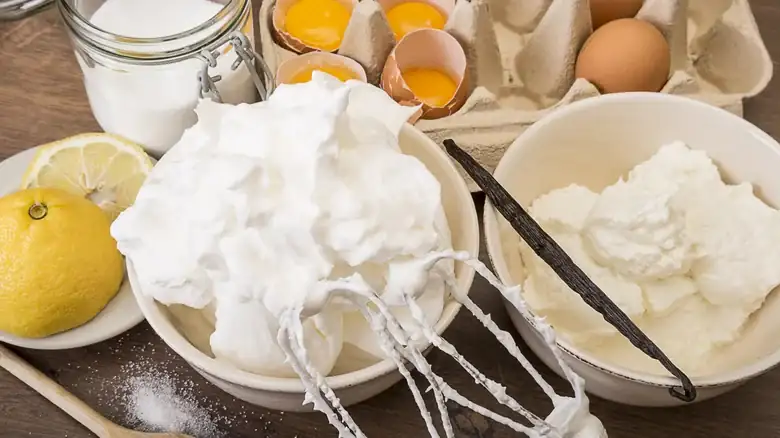
I blame no one who needs a breather after making meringue. You deserve to behold those soft peaks of perfection! But don't celebrate for long — it loses structure over time. To make meringue, egg whites are vigorously beaten into an airy foam. During this constant agitation, proteins in the whites unfold, then bond together to create a reinforced, yet still fairly weak, network around the water present in the whites and around the air introduced during whipping. For a meringue in an uncooked format, like a French meringue that's simply a whipped mixture of sugar and egg whites, this network is the most unstable and will quickly deteriorate, releasing water and air and causing separation. It's why you'll see a puddle of water at the bottom of your bowl if you over-beat or let it sit. And it's why we always hated getting tested on French meringue in pastry school, as
Forgetting to line your baking sheets with parchment paper
It's a mistake you'll make once and never make again: not lining your baking sheets! Without any liner, your fate is sealed in failure. The meringues will stick to the baking sheet. They will not release. This is almost a law. There will be a crumbly fight and many helpless sacrifices. Take it from a wizened warrior like myself with many battle scars: spare yourself the waste of time and ingredients by correctly prepping your baking sheets. The type of liner you use is an important consideration for baking. Nonstick sprays and liners like wax paper or silicone mats are not the best choices to use when baking a sensitive foam like meringue. The fat from nonstick sprays, slick film on wax paper, and thicker material and residual greasiness on silicone mats compromise the meringue's structure. They will prevent meringues from developing a crispy bottom and will
Overcrowding the baking sheet
Placing too many portions on a single baking sheet without enough space between each one is a common error. When you overcrowd them, you're discounting the necessity for sufficient airflow. This causes many unfixable issues, ultimately resulting in a ruined recipe. Overcrowding is a nasty mistake particularly with meringues because of their delicacy. The wet, sticky portions will easily fuse together, and the limited exposure to heat and air will prevent the exterior from developing a dry and crisp crust. When making multiple portions of meringue, as for cookies or shells, first strategize how many total units will fit on a single baking sheet with enough room between each one. There should be roughly ½ inch of space between each meringue. This is a quick prep step that mostly every pastry kitchen I have worked in does prior to putting anything on the baking
Shying away from a piping bag and tip
Have you always wondered why meringue cookies look so perfect? Do you gawk at the precise swirls and twirls of rosettes, or stare in fascination at beautifully bulbous teardrop shapes? Why don't your meringues look like those meringues? If you struggle with trying to make flawless shapes, you might be missing some essential pastry tools. Even if you're not an experienced cake decorator, don't fear a piping bag fitted with a tip. This dynamic duo offers the best control and consistency for precisely sized units. With some practice to build your technique and self-confidence, your meringues will look just as pretty as any professional's. Once you get the hang of it, a piping bag makes portioning faster, cleaner, and easier than attempting to do it with a spoon and a prayer. A saying my first baking mentor would repeat to me before a new task is to work smart, no
Spreading meringue on a pie incorrectly
If you are frustrated by the recurring issue of a wet puddle underneath a slippery meringue every time you make a lemon meringue pie, I have the reasons why that happens and the solutions you need to stop that from happening ever again. Let's focus on how you spread the meringue on top of a curd or custard filling. The first mistake is that you apply the meringue to a completely cooled filling. A crucial spreading instruction is that the meringue should be applied to a warm — rather than cold – cooked curd or custard filling before baking. The residual heat and direct contact gently warms the bottom of the meringue, sealing the layers together to prevent any separation and slippage. The second issue is that you aren't spreading the meringue far enough. Meringue that does not reach and touch the crust on a pie will seep out moisture as it bakes onto the expos
Ignoring weather and humidity levels
In a perfect world, there would be no humidity to ruin our meringues... or our hairstyles! But reality often slaps us out of this unproductive daydreaming. Truth be told, you'll never have a perfect day to make perfect meringues. But you can't plan your schedule around the weather, not when there are events you're baking for marked on the calendar. And that's exactly why you need to be as diligent as ever to adapt to inclement weather. On hot and humid and/or rainy days, be prepared to extend the bake time. The extra airborne humidity increases the moisture absorbed by the sugar, which slows down how fast meringues dry. If you bake them for the same amount of time you normally do on drier days, they will be underbaked. Avoid the temptation to increase the oven temperature. Setting the oven too high causes excess browning and poor structural development. The merin
Setting the oven temperature too low or too high
Baking meringues at too low or too high of a temperature will compromise their final structure and taste. The right oven temperature is absolutely critical. For the purpose of making crisp cookies that remain light in color, baking too low increases the likelihood the meringue's texture will not develop properly. Baking too high will prematurely cook, and possibly burn, the exterior while the center remains too soft and chewy. Both mistakes will increase the risk of your meringues weeping or beading — when the granules of sugar have not fully dissolved and begin to release moisture. The ideal temperature range for baking meringue cookies or shells will result in a dry texture, solid structure, and zero or at least minimum browning. I suggest you set your oven temperature to no lower than 200 degrees Fahrenheit and no higher than 250 degrees Fahrenheit.
Not knowing when meringues are done baking
While the suggested bake time on a recipe is a solid guideline, you can't rely on that alone to determine when meringues are fully baked. You must take an active approach, utilizing sight, touch, and more. The type of recipe will influence how you check for doneness. Baking meringue on pie will typically take 15 to 20 minutes, and will be slightly browned on the outside with a subtle jiggle when you shake it. But if you want to avoid any risk of consuming raw eggs in a French meringue, you should get a more accurate measurement. I prefer to check its internal temperature by inserting a probe thermometer into the center. Per the USDA's Safe Minimum Temperature Chart, eggs are fully cooked at a minimum of 160 Fahrenheit. To check cookies or shells, the internal temperature is not a concern since they are baked for longer. Because of the ever-fluctuating moisture
Cooling too hastily
Don't think all the work is over when the meringue has (finally) finished baking. The cooling process should be gentle and gradual, with no extreme temperature changes. Painfully recalling a past restaurant kitchen tragedy, dozens of crunchy meringues I just baked became mushy because a prep cook needed the oven, and decided to immediately move them to the walk-in cooler without telling me. He didn't understand the unfortunate consequences, and I blame lack of communication for that sad blunder! Whether you have coworkers, roommates, significant others, or family members sharing your kitchen, make sure everyone is aware you are cooling meringue... and to not touch them! For cookies or shells, gradually cool them while they are still on the baking sheets in the oven. Allowing the meringues to cool completely in the oven gives you a safe and controlled en
Storing incorrectly
Given its delicate structure, baked meringue will be at its best when consumed as fresh as possible. However, there are smart methods for at least short-term storage. The main mission is to prevent further absorption of moisture to keep it from becoming soft and soggy. For cookies and shells, they should only be filled or covered with wet components (liked whipped cream or fruit sauce) directly before serving to preserve their crispness. If prepared and stored with these ingredients ahead of time, the meringues will become mushy. They are best stored at room temperature in a dry room away from any sunlight or heat sources packed neatly in an airtight container. A dry goods pantry is ideal! Stored in this manner, they can last up to one week without a negative effect on their texture. Once baked and stored in this correct manner, meringue cookies may touch ea