How to Master Your Food Processor, From Blades to Attachments
Food processors can chop, puree, slice, shred, and even dice, making them one of the most versatile appliances in the kitchen.
As the senior director of the Good Housekeeping Institute Kitchen & Cooking Lab, I’ve tested food processors for many years and used them for countless everyday tasks. I also worked at a kitchen appliance company, where I helped develop food processors and create recipes for them. Here’s what I’ve learned about how they work, how to assemble them, and how to get the most out of their accessories.
How do food processors work?
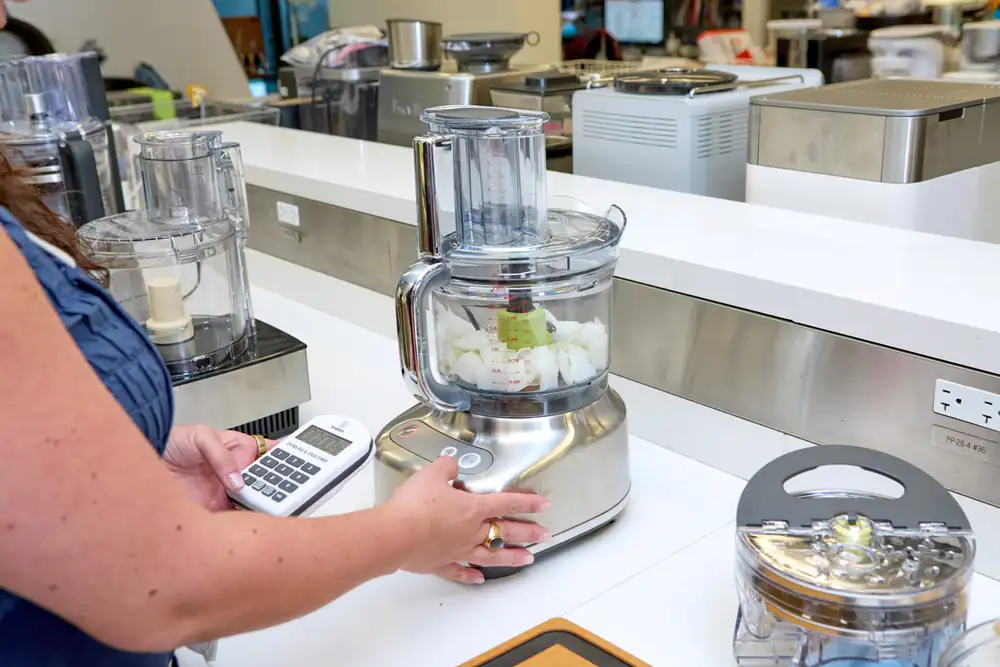
Food processors typically have a heavy motor base and a clear work bowl that lets you monitor your ingredients. An S-shaped blade chops food and, when the processor runs continuously, purees it.
The blade is removable and can be swapped for slicing or shredding discs. To use these attachments, add ingredients through the feed tube, secure them with the included pusher, and turn on the processor.
Dicing blades are a newer food processor innovation that cuts fruits and vegetables into even cubes. Some models also come with julienne blades for creating thin, matchstick-like strips.
How to assemble your food processor
Before using your food processor, ensure all parts are clean. Most food processors include an electric base, a plastic work bowl, a blade shaft, multiple blades, a work bowl lid, a feed tube, and a plunger.
1. Place your food processor on a clean, flat surface
Be sure that kids or pets can't reach the appliance or its cord.
2. Place the work bowl onto the base
With the unit unplugged, fit the work bowl onto the base and make sure it’s securely attached.
3. Attach the appropriate blade or accessory
For most chopping and pureeing, attach the standard S-blade that comes with your appliance. For kneading dough, attach the “soft dough” accessory. For slicing or shredding, attach the round slicing or shredding blade, which sits at the top of the work bowl.
4. Attach the work bowl lid
Food processors won’t run if they’re not locked in properly. You can add ingredients directly into the work bowl before putting the lid on or add ingredients through the feed tube once the food processor is on, depending on the recipe.
5. Plug in and use your food processor
Once your food processor is safely assembled, plug it into the appropriate outlet. Make sure to unplug the appliance before cleaning or changing the blade while the work bowl is in place.
S-blade
The main S-blade can be used to chop and puree all sorts of food, including:
✔️ Chopping onions and other vegetables and fruits for mirepoix or salsa
- Pro tip: Cut ingredients into even-sized pieces for more consistent results; use the pulse button to control consistency and avoid overprocessing.
- Pro tip: Ensure all herbs are completely dry to avoid bruising; use the pulse button here as well to avoid mincing too finely.
- Pro tip: Cut into 1-inch pieces before adding to your work bowl to avoid straining your machine; use the pulse button so it doesn't accidentally form into a paste.
✔️ Whipping up mayo, dressings, and dips, like hummus
- Pro tip: Use the drizzle hole in the lid to slowly incorporate oil into the work bowl—this method is essential for making mayonnaise or creamy Caesar salad dressing.
✔️ Making sauces like pesto, salsa verde, and chimichurri
- Pro tip: Make sure your herbs are fully dry to prevent bruising; try different nuts and greens for pesto—you don't always need to use pine nuts or basil.
- Pro tip: After steaming your ingredients, place them into your work bowl and blend them until smooth with some of the steaming liquid for a nutritional boost.
- Pro tip: Pulse the nuts and then process on High until smooth; scrape down the sides as needed.
- Pro tip: Watch the MAX fill line to avoid leaks.
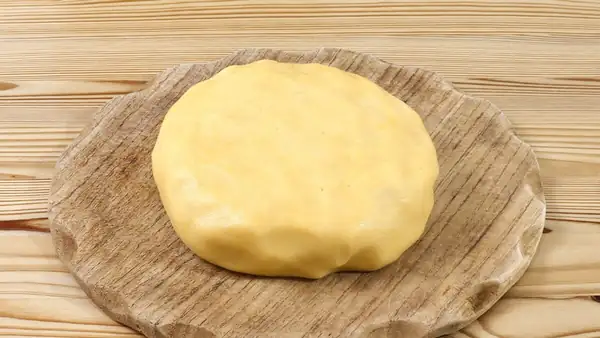
✔️ Making pie crust, including a graham cracker crust and pie dough, and shortbread cookie dough
- Pro tip: Cut your butter into small, uniform pieces before processing; use the pulse button to incorporate it evenly into other ingredients.
- Pro tip: Yes, you can make your own ground meat and even fish. Cut protein into even pieces before processing, and make sure it's cold. Use the pulse button to get the grind that you want. A chunkier grind has a better mouthfeel, medium grinds bind better, and pastes can be used to make copycat nuggets. This is great for burgers and meatballs, especially those where you want to know exactly what's in them or customize them (think leaner options, chicken versions, etc.).
S-blade or included dough attachment
- Pro tip: Simple cookie recipes that aren't weighed down with a ton of butter and flour are easy to make in the food processor.
Slicing attachment
✔️ All sorts of fruits and veggies, including carrots for salad, tomatoes for sandwiches, zucchini for tarts, etc.
- Pro tip: Pack the feed tube and make sure all ingredients are secure before turning on the food processor. Gently use the pusher to guide food into the food processor, but let the food processor do most of the work.
- Pro tip: The slicing attachment is the perfect tool for slicing cabbage for slaw.
Shredding attachment
✔️ Can handle all sorts of fruits and veggies
- Pro tip: Shred potatoes for hash browns and latkes, zucchini and carrots for cake, and more.
- Pro tip: Ensure cheese is cold but not frozen. This will help prevent buildup. Shred large quantities and freeze them for later—this is a great alternative to buying shredded cheese, which often contains fillers that help prevent caking and clumping.
Dicing attachment
✔️ Diced fruit for fruit punch, sangria, yogurt, and ice cream toppings
✔️ Veggies, like onions, zucchini, and potatoes, for soup and hash
- Pro tip: Most ingredients don't require any prep. Just pack the feed tube as you would for the slicing and shredding attachments, and guide the food into the food processor with little to no pressure. Dice soft ingredients first, then the hard ones, to limit jamming.
Most importantly, be very careful when handling the dicing attachment and never touch any parts of the blade. Use the included cleaning tool to remove stuck pieces and a bottle brush to wash it.
Additional, though not ideal, ways to use your food processor
- Pro tip: Cut these ingredients into small pieces and use the pulse button to break them up before processing.
- Pro tip: I'd be extra careful with ice because it's so hard. If you want to try it, use the pulse button first.
- Pro tip: While you can puree fruits and liquids in a food processor, I prefer using a blender for this task. It’s less prone to splattering, produces smoother results, and is easier to pour from.
How to clean your food processor
I prefer cleaning all the parts of my food processor on the top rack of my dishwasher. Always check your manufacturer's instructions to confirm the pieces are dishwasher-safe.
You can always wash the parts by hand; just be sure to use a brush when cleaning the blades, as they're very sharp.
Wipe the base with a damp cloth or sponge, and never submerge it in water.
Why trust Good Housekeeping?
Nicole Papantoniou is the senior director of the Good Housekeeping Institute's Kitchen & Cooking Lab, where she oversees testing and content for kitchen appliances, food, and recipes. She’s used food processors for more than 10 years—she helped develop them, create recipes for them, and test them in her everyday life.