Chicken Katsu
Chicken katsu is one of those things that’s genuinely hard to mess up and yet somehow tastes so much better homemade than most places serve it. Crispy panko crust, juicy tender chicken inside, and in my mom’s version, thinly sliced onion pressed into the breading before it gets fried.
- 1 kg about 2.2 lbs chicken tenderloins
- 1 cup whole milk
- 1 to 1.5 tbsp salt
- Black pepper (to taste)
- 2 tbsp mirin
- Onion
- 1 onion (sliced as thinly as possible)
- 1 cup all-purpose flour or Korean frying mix (twigim garu)
- 5 eggs (beaten)
- 3 cups panko breadcrumbs
- Neutral frying oil
- Butterfly and pound: Butterfly each chicken tenderloin by slicing horizontally almost all the way through and opening it flat. Place between two sheets of plastic wrap or in a zip-lock bag and pound to an even thickness using a meat mallet or rolling pin. You want them thin and even so they cook through quickly and consistently.
- Marinate: In a bowl combine chicken, milk, salt, black pepper, and mirin. Toss to coat. Cover and refrigerate for at least 30 minutes — a few hours is better if you have time.
- Slice the onion: Slice the onion as thinly as possible. The thinner the better for adhesion.
- Set up breading station: Set out three shallow bowls — one with flour or frying mix, one with beaten eggs, one with panko breadcrumbs.
- Press on the onion: Remove a piece of chicken from the milk and shake off excess. Press thinly sliced onion firmly onto both sides of the chicken. Some will fall off and that's fine — set those pieces aside to fry separately.
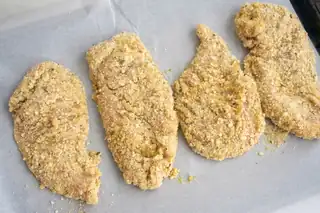
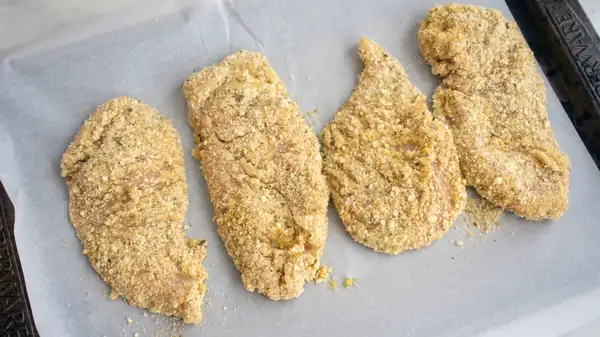
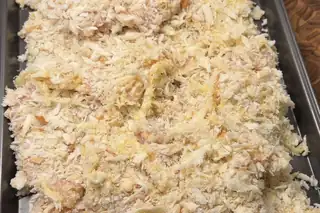
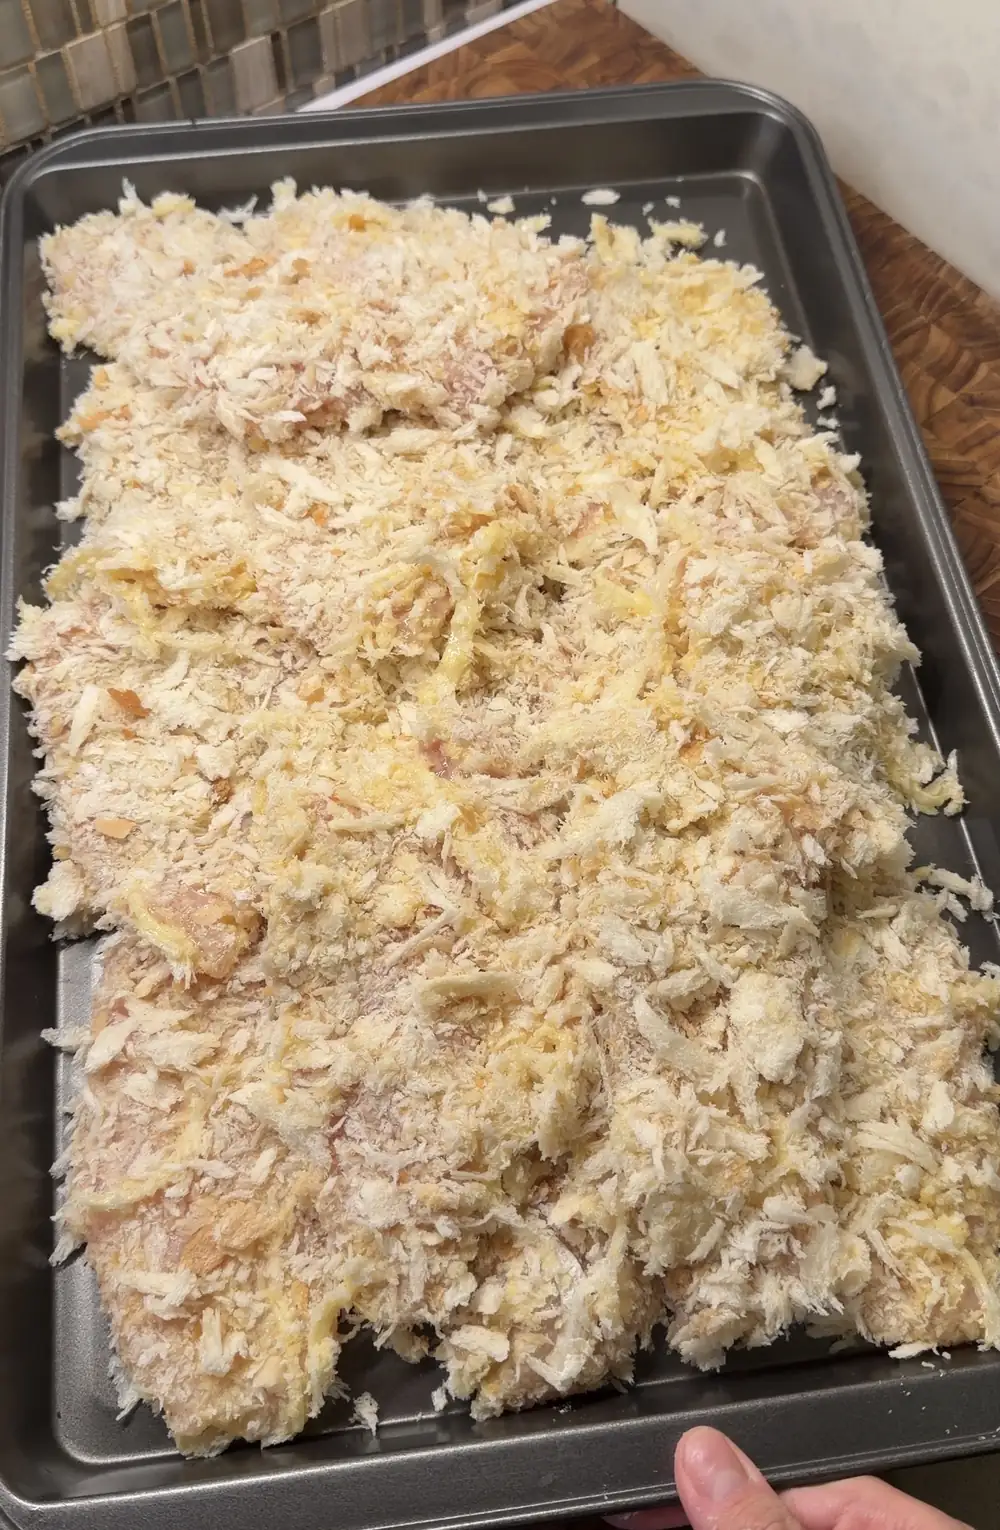
- Bread: Coat the onion-pressed chicken in flour first, shaking off any excess. Dip into beaten egg until fully coated. Then press firmly into panko breadcrumbs, making sure every surface is covered and the panko is pressed in well.
- Repeat with remaining chicken pieces.
- Heat the oil: Heat frying oil in a pan or pot to 350°F (175°C). You want enough oil to come at least halfway up the chicken for a shallow fry, or enough to fully submerge for a deep fry.
- Fry: Working in batches to avoid crowding the pan add the breaded chicken and fry until deeply golden brown on both sides and cooked through, about 3-4 minutes per side depending on thickness. Toss any fallen onion pieces into the oil alongside and fry until golden. Drain on a wire rack or paper towels.
- Serve: Slice and serve immediately with rice, shredded cabbage, and tonkatsu sauce or your sauce of choice.
Why You’ll Love This Recipe
My mom’s onion trick — thinly sliced onion pressed into the chicken before breading adds flavor and the occasional crispy onion ring bite that makes the whole thing better.
Chicken Katsu: My Mom’s Onion Secret
Katsu is a Japanese-style dish that’s become completely universal across East Asian home cooking and for good reason. The combination of a thin pounded cutlet with a crispy panko crust is just objectively excellent. My mom makes hers with chicken tenderloins which she butterflies and pounds flat so every piece cooks evenly and you get maximum crust-to-chicken ratio in every bite.
The onion thing is her move and I genuinely think it’s brilliant. She slices onion as thinly as humanly possible and presses it onto the chicken before the breading goes on. Some of the onion falls off during the flour and egg stages and that’s fine. She just tosses those pieces in the oil alongside the chicken and fries them up separately. But the pieces that do stick get fully encased in panko and fry up into these little crispy onion bits in the crust. When you get a bite that has one it’s like a bonus flavor moment. It’s so good.
Chicken Katsu Ingredients
THE ONION (my mom’s secret)
Neutral frying oil, enough to shallow or deep fry.
The Milk Marinade
Soaking the chicken in milk before breading is something my mom always does and it serves two purposes. It removes any lingering chicken smell. Milk is really effective at neutralizing odors in meat and it keeps the chicken incredibly juicy after frying. The salt and mirin go in with the milk which seasons the chicken all the way through rather than just on the surface. Even just 30 minutes in the milk makes a noticeable difference but longer is always better if you have the time.
The Onion
Slice the onion as thinly as you possibly can. The thinner the better because thin slices are more likely to stick to the chicken surface and stay put through the breading process. A mandoline is ideal here but a sharp knife and patience works too. Press the onion slices firmly onto both sides of the chicken after you pull it from the milk and before it goes into the flour. Some will fall off as you bread it, that’s completely fine. My mom just throws those loose pieces into the oil alongside the chicken and fries them up as little crispy onion pieces on the side. Nothing goes to waste and you get a bonus snack!
The Breading
Standard katsu breading in three stages: flour, egg, panko. Using Korean frying mix (twigim garu) instead of plain flour adds a little extra crispiness and seasoning to the first coat and is worth using if you have it, but plain flour works perfectly well. Make sure to press the panko into the chicken firmly so it adheres properly and doesn’t fall off in the oil. A loose panko crust means uneven browning and sad patches where the crust detaches. Press it in with your hands and give it a gentle squeeze before it goes in the oil.
How To Make Chicken Katsu
Butterfly and pound: Butterfly each chicken tenderloin by slicing horizontally almost all the way through and opening it flat. Place between two sheets of plastic wrap or parchment paper and pound to an even thickness using a meat mallet or rolling pin. You want them thin and even so they cook through quickly and consistently.
Press on the onion: Remove a piece of chicken from the milk and shake off excess. Press thinly sliced onion firmly onto both sides of the chicken. Some will fall off and that’s fine. Set those pieces aside, bread and fry separately.
Storage
Cooked katsu: Store in an airtight container in the fridge for up to 3 days. Reheat in an air fryer at 375°F for 5-6 minutes or in the oven at 400°F for 10 minutes to bring the crust back to life. Avoid the microwave — it makes the crust soft.
Breaded uncooked katsu in the fridge: If you want to bread ahead and fry later you can keep the breaded uncooked pieces in an airtight container in the fridge for up to 2 days. Fry straight from the fridge when ready.
Breaded uncooked katsu in the freezer: Portion the breaded uncooked pieces onto parchment paper, place in an airtight container or bag, and freeze for up to 2 months. Fry straight from frozen — just add a couple of extra minutes to the cook time and keep the oil temperature steady so the crust doesn’t brown before the chicken cooks through.